
I decided that I'd be a bit different with this blog post and show you a tutorial for a shimmery smokey eye which I created using the MUA Undress Me Too Palette. It's a really wearable look for everyday and pretty easy to create. I hope you enjoy wearing this look! Feel free to send me pictures of this look if you do create it.


First of all, I make sure I prep my under eye area. The skin under your eyes is quite delicate, hence the occurrence of those dreading dark circles and shopping bag eyes! I use Boot's Vitamin E Gentle Eye Cream which was a recommendation by a blogger friend of mine ItsAmiieeism. I seem to always go back to this eye cream as I find others make my eyes water and nobody wants puffy eyes before applying makeup! I highly recommend this eye cream. I place a few dots under my eyes and pat it in with my ring finger. It hydrates the eye area and makes for a great base for concealer (it can prevent concealer creasing and stops you from getting dry under eyes).


After the eye cream, I apply a light primer on my eyelids and under eyes to keep the eye shadow and concealer in place. As you can see this is a face primer, not an eye primer but I think eyelid primers are a bit of a rip off to be fair. Most primers will do the same job in keeping your makeup in place all day. This Revlon PhotoReady Face Perfecting Primer is super light and smooth. It feels like velvet when applied and does not transfer like some silicone based primers. It hides pores and fine lines and just makes an amazing base for makeup.
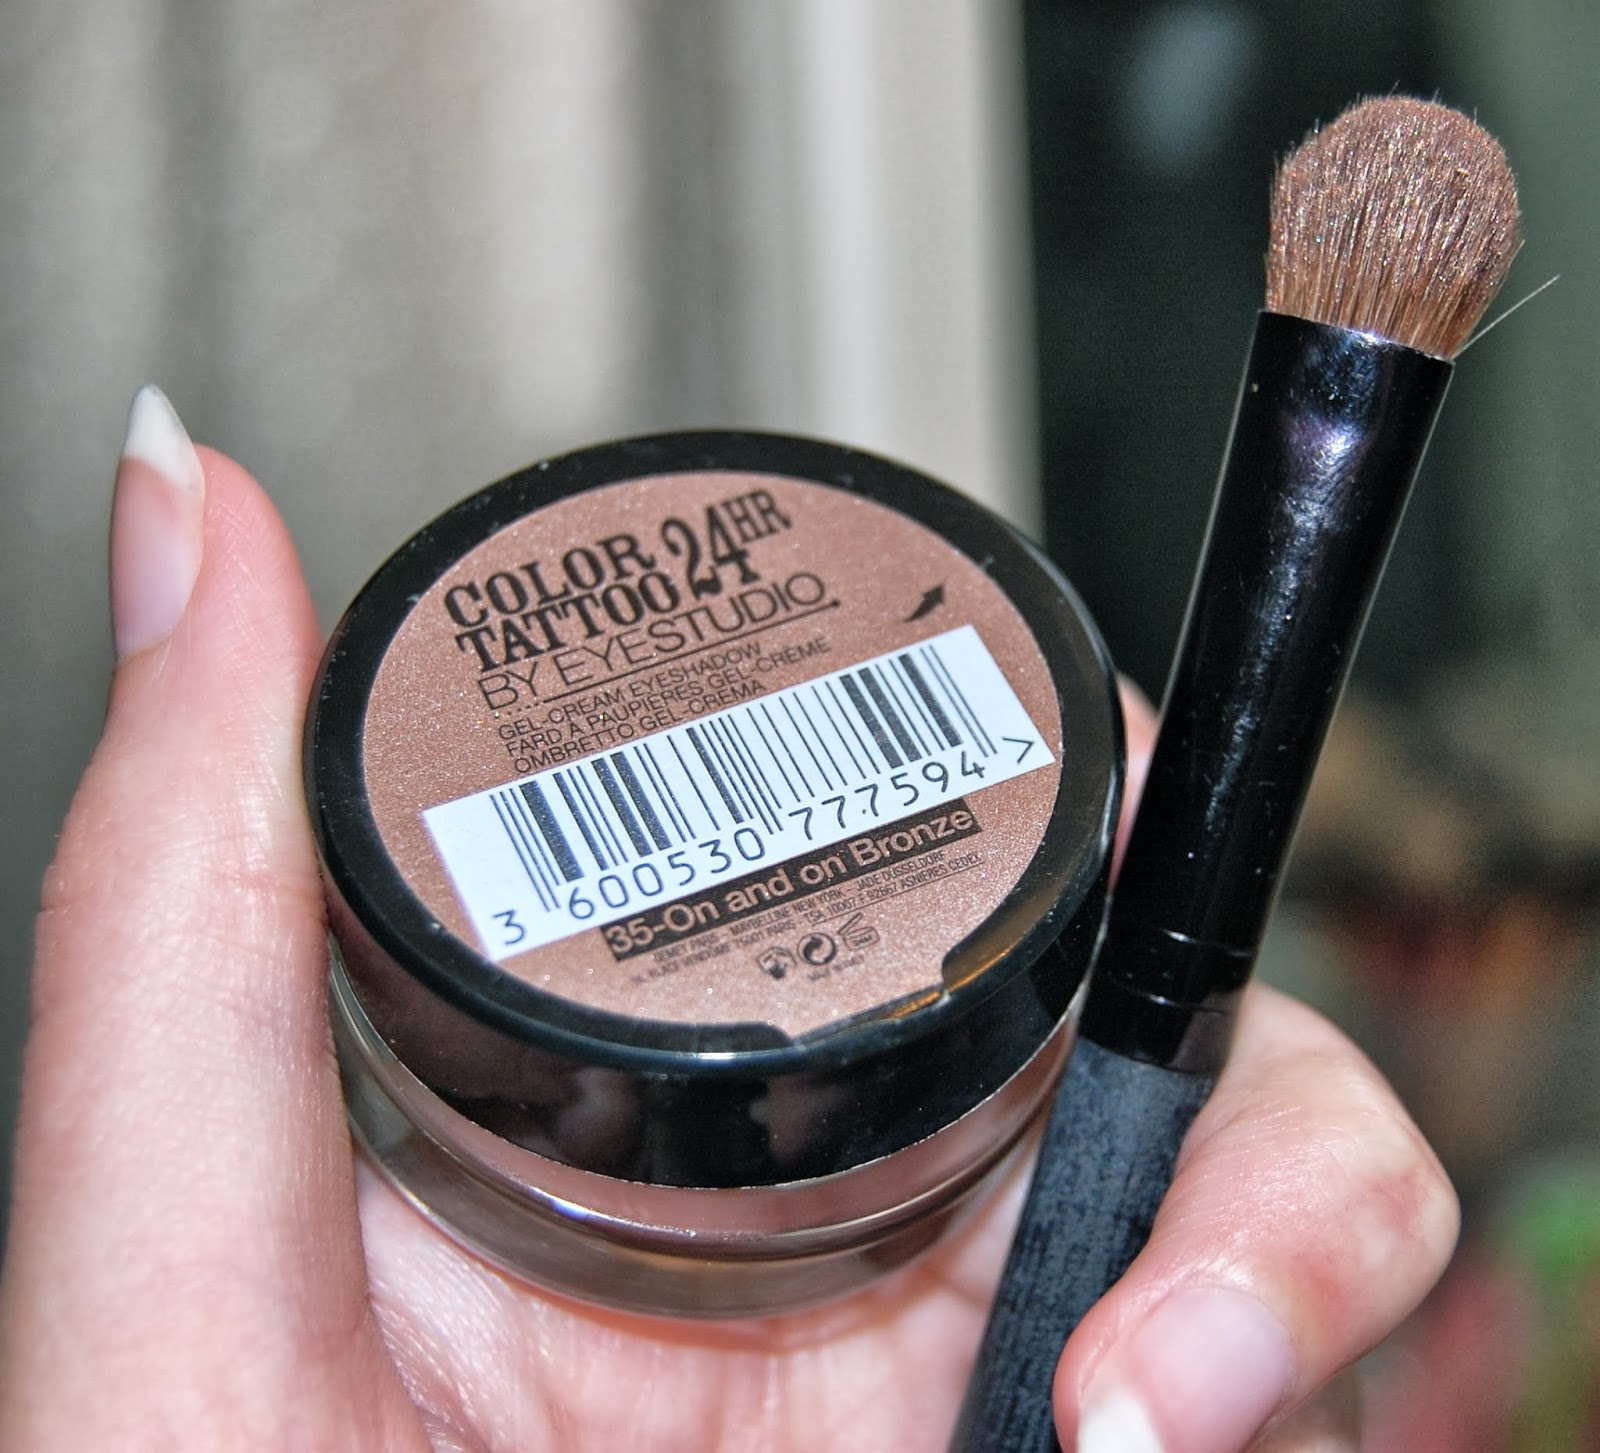
Then apply the Color Tattoo by Maybelline in 'On and on Bronze' with a flat blending brush. The Colour Tattoos are an amazing base for eyeshadow and are long wearing. Once applied they are hard to budge. On and on Bronze looks amazing on it's own also and would make a great simple smokey eye if you want a quick yet dramatic look. I look how easy these are to apply. I take some of the product on a blending brush and pat the product on before blending it in so that I can build the pigmentation.

I then take the MUA Undress Me Too Palette. I use the shades Lavish (a matte chocolate brown shade)

I contour the crease of my eye with Lavish using the Real Technique's Base Shadow Brush. I then apply Fiery/Tranquil over the Colour Tattoo. If you'd like a more defined eye then you can add the colour Obsessed in the outer corner of the eye using a smaller eye brush. I then use the Base Shadow Brush to blend those colours together. This brush is so soft so it's really easy to blend with.


I then take the Loreal Super Liner Blackbuster to line my eyelids. Keep the liner as close to the lash line as possible so you don't draw attention from the shadow. It will also help to emphasise your lashes. I absolutely love this eyeliner. Liquid eyeliner is very much like marmite. You can end up looking like a panda with most liquid liners, which is why pen liners are so brilliant. This Super Liner Blackbuster is so easy to use and creates similar drama and pigmentation to a gel liner. It also does not dry out easily which is what I dislike most about pen style liners.


You can then tight line your upper lid using Maybelline Gel Liner.


I then take the Scandal Eyes Kohl Kajal Eyeliner in Bronze and apply it to the lower lash line. You can smudge the liner with an angled brush for a more smokey look.


Take the The Rocket Volum' Express Mascara by Maybelline and apply this to the top and bottom lashes. This mascara adds volume and length. I've always adored the Max Factor False Lash Effect mascaras and never seemed to like any others. This mascara is just fantastic though and makes your lashes stand out without looking too clumpy or false. Apply two coats of mascara from the root of the lash and shimmy the wand up the lash (shimmy means to shake the wand if you didn't know).

I then take Mac's Studio Finish Concealer in NC15 and apply that in a triangular shade under the eye. I applied the concealer using Real Technique's deluxe crease brush. Because of it's domed shape it is great for applying concealer under the eyes and blending the product. I love this Mac concealer as it has a great coverage but does not look to cakey. You can set the concealer with powder to stop it from creasing. It really brightens the under eyes and covers dark circles amazingly.


So here is the makeup look! As you can see it's super easy to create. I also applied Bourjois's Healthy Mix and Rimmel's Natural Bronzer as well as applying Lavish shadow to my eyebrows.
I hope you like the makeup and if you have any requests for other makeup looks, comment below with suggestions.
Lots of Love
G x


